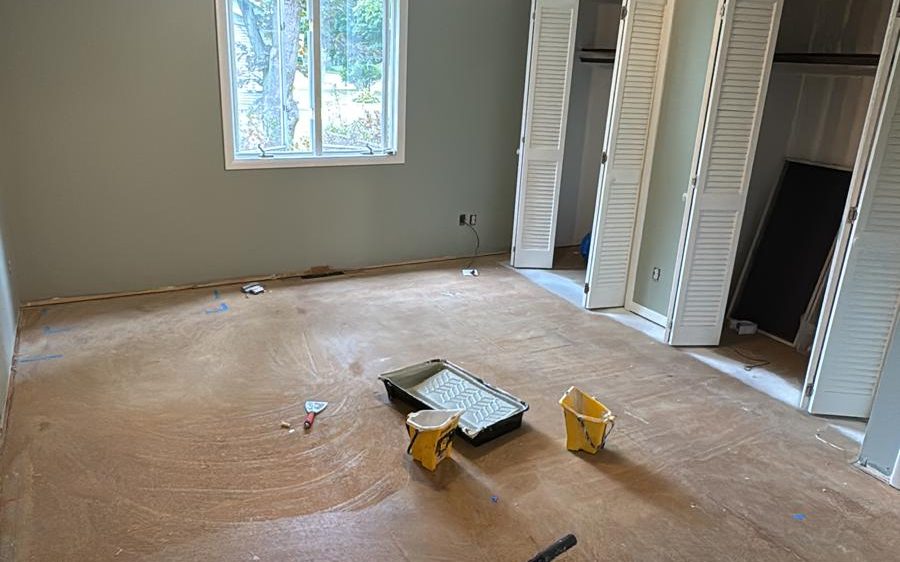
Wallpaper removal has a reputation as a miserable weekend project, and it often earns it. The paper tears into tiny pieces, the adhesive will not let go, and the wall underneath ends up gouged. Professionals face the same materials, but the approach is different: slower at the start, more methodical, and focused on the condition of the wall when the paper is gone.
Here is what the process looks like when it is done carefully, and what you can expect if you are planning to replace wallpaper with paint or new paper.
Step one: figure out what is on the wall
Wallpapers vary a lot. Strippable papers are designed to peel off dry, leaving a backing behind. Peelable papers leave a paper backing that has to be soaked. Vinyl-coated papers resist water, so moisture has to be introduced through small scores. Older papers may have been hung directly on unprimed drywall or plaster, and some rooms have several layers, or wallpaper that has been painted over.
A small test area answers most of these questions: whether the top layer peels dry, how easily the backing releases, and how the wall surface responds. That test decides the method for the rest of the room.
Step two: protect the room
Removal involves water, sometimes steam, and wet paper falling to the floor. Floors are covered with waterproof protection and then absorbent drop cloths, outlets and switches are turned off at the breaker where needed and covered, and furniture is moved out or to the center of the room. Baseboards may be masked to keep water from wicking under them.

Step three: remove the paper and backing
If the facing peels dry, it is removed first in large sheets. The remaining backing is then soaked with warm water, sometimes with a removal solution, and allowed to sit so the adhesive softens. Once it releases, it is scraped off with wide, flexible blades held at a low angle to avoid digging into the wall.
For stubborn or painted-over paper, the surface may be scored lightly so moisture can penetrate, or a steamer may be used in sections. Steam has to be used carefully on drywall, because too much can soften the drywall's own paper face. On plaster walls, steam is often more effective and less risky.
When there are multiple layers
Rooms with several generations of paper are removed layer by layer. Each layer can behave differently, so the method may change partway through. This is usually where time estimates stretch, and it is why a test area at the beginning is so valuable.
Step four: remove the adhesive residue
This step is easy to skip and important not to. Wallpaper paste left on the wall may be almost invisible when dry, but paint applied over it can crack, crackle or peel as the residue reacts with moisture in the paint. Walls are washed with warm water and a sponge, rinsed and allowed to dry. Running a hand over the surface is a simple test; residue feels slightly slick or tacky.
Step five: repair the wall
Even careful removal can leave damage, especially when paper was hung without primer and the adhesive bonded directly to the drywall's face paper. Torn areas that expose brown paper need to be sealed with a specialty primer before any compound is applied, otherwise the paper bubbles. Then the wall is skim-coated or spot-patched, sanded smooth and primed.
If the walls have other problems, such as cracks, holes or old anchors, this is the ideal time to fix them. Our drywall repair work is often combined with removal for exactly that reason.
Step six: paint or new paper
With a primed, smooth wall, the room is ready for its new finish. If you are painting, the wall is treated like any other properly prepared surface. If you are hanging new wallpaper, a primer made for wallpaper helps it adhere and makes future removal easier, which the next owner of the house will appreciate.
Our wallpaper removal and installation service covers the whole sequence, and our interior painting crew can finish the room the same week.
How long it takes and what affects cost
A single average room typically takes one to two days for removal and repair, sometimes longer with multiple layers or painted paper. The biggest variables are the type of paper, how many layers there are, whether the wall was primed before the paper went up, and how much repair the surface needs afterward. A walkthrough with a test patch is the most reliable way to get an accurate estimate.
If you are tempted to do it yourself
Removing wallpaper yourself is possible, especially with strippable papers or a single layer in a small room. The most important habits are patience and a low scraper angle. Let water or removal solution soak long enough to soften the adhesive before scraping, work in manageable sections, and stop to reassess if the wall surface starts tearing. Turn off power to outlets in wet areas and protect floors well.
Where do-it-yourself projects usually go wrong is in the final steps: leaving residue on the wall, painting over torn drywall paper without sealing it, or skipping the primer. Those shortcuts tend to show up weeks later as bubbling, cracking or peeling paint, which is much harder to fix than it would have been to prevent. If you reach that point, a professional can usually still recover the wall, but it takes more work than if it had been done in sequence.
Frequently asked questions
It is possible in some cases, but it is rarely recommended. Seams and edges tend to show through, moisture in the paint can loosen the paper, and removing it later becomes much harder.
It depends on the wall and the paper. Steam works well on plaster and on heavy or multiple layers, while soaking is often gentler on drywall. A test area helps choose the method.
Usually because the paper was hung on drywall that was never primed, so the adhesive bonded to the drywall's face paper. That damage can be sealed and skim-coated for a smooth, paint-ready surface.
Related services: